Night Photography: Capturing Spain's Cities After Dark
Understanding the Basics of Night Photography
Night photography is a captivating art form that allows you to capture the beauty of cities after the sun goes down. With the right techniques, you can transform ordinary scenes into extraordinary images illuminated by artificial light. Before diving in, it's essential to understand your camera settings, such as exposure, ISO, and aperture, which play a crucial role in capturing sharp and vibrant nighttime photos.
Night is longer than day for those who dream & day is longer than night for those who can see.
One key aspect of night photography is using a tripod to stabilize your camera during longer exposures. This prevents blurriness that can occur from hand-shaking while capturing low-light scenes. Additionally, experimenting with various exposure times can yield stunning effects, from light trails of passing vehicles to the soft glow of street lamps reflecting off wet pavement.
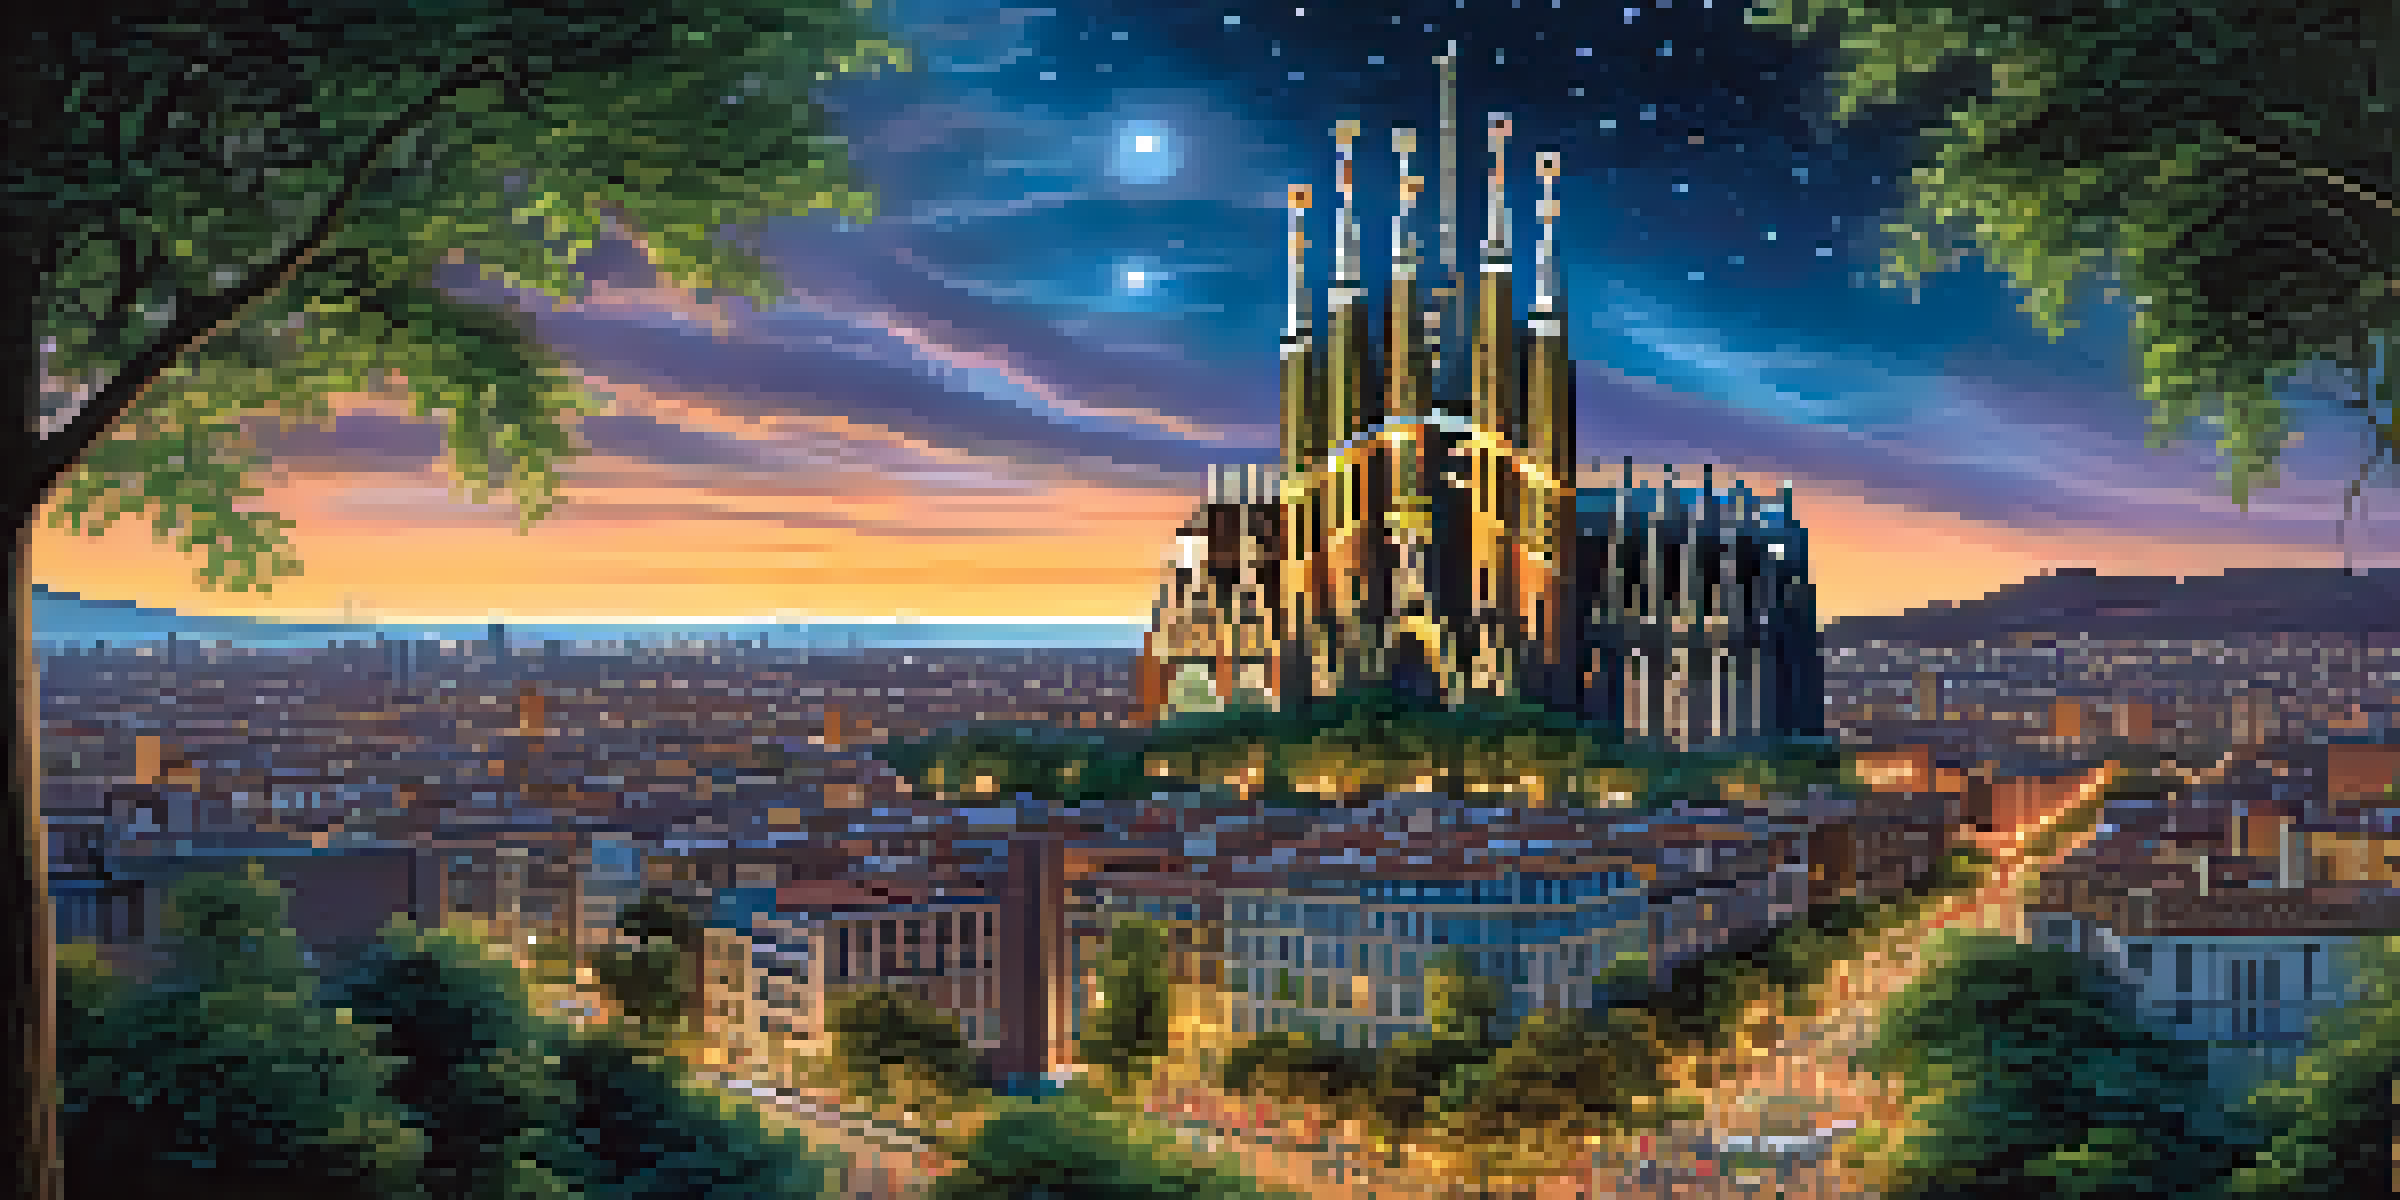
Lastly, don't forget to explore the unique characteristics of different cities. Each place has its own atmosphere that can be beautifully highlighted through your lens. Whether it's the historical architecture of Barcelona or the modern skyline of Madrid, understanding the essence of your surroundings can help you create more compelling night photographs.
Essential Gear for Night Photography
When it comes to night photography, having the right gear can make a significant difference. A sturdy tripod is often a must-have, as it allows you to take longer exposures without the risk of camera shake. Additionally, a camera with manual settings and good low-light performance will help you achieve the best results, so consider investing in a DSLR or mirrorless camera if you haven't already.
Another important piece of equipment is a fast lens, ideally one with a wide aperture (f/2.8 or lower). This allows more light to hit the sensor, which is crucial for capturing sharp images in dim conditions. Additionally, a remote shutter release or smartphone app can help you avoid any vibrations when taking a shot, enhancing image clarity.
Key Techniques for Night Photography
Mastering camera settings like exposure, ISO, and aperture is essential for capturing stunning nighttime images.
Lastly, don’t forget extra batteries and memory cards. Night photography can drain your camera's battery faster than you might expect, especially if you're using features like live view or shooting in continuous mode. Having backups ensures you won’t miss out on capturing those magical moments.
Choosing the Right Locations in Spain
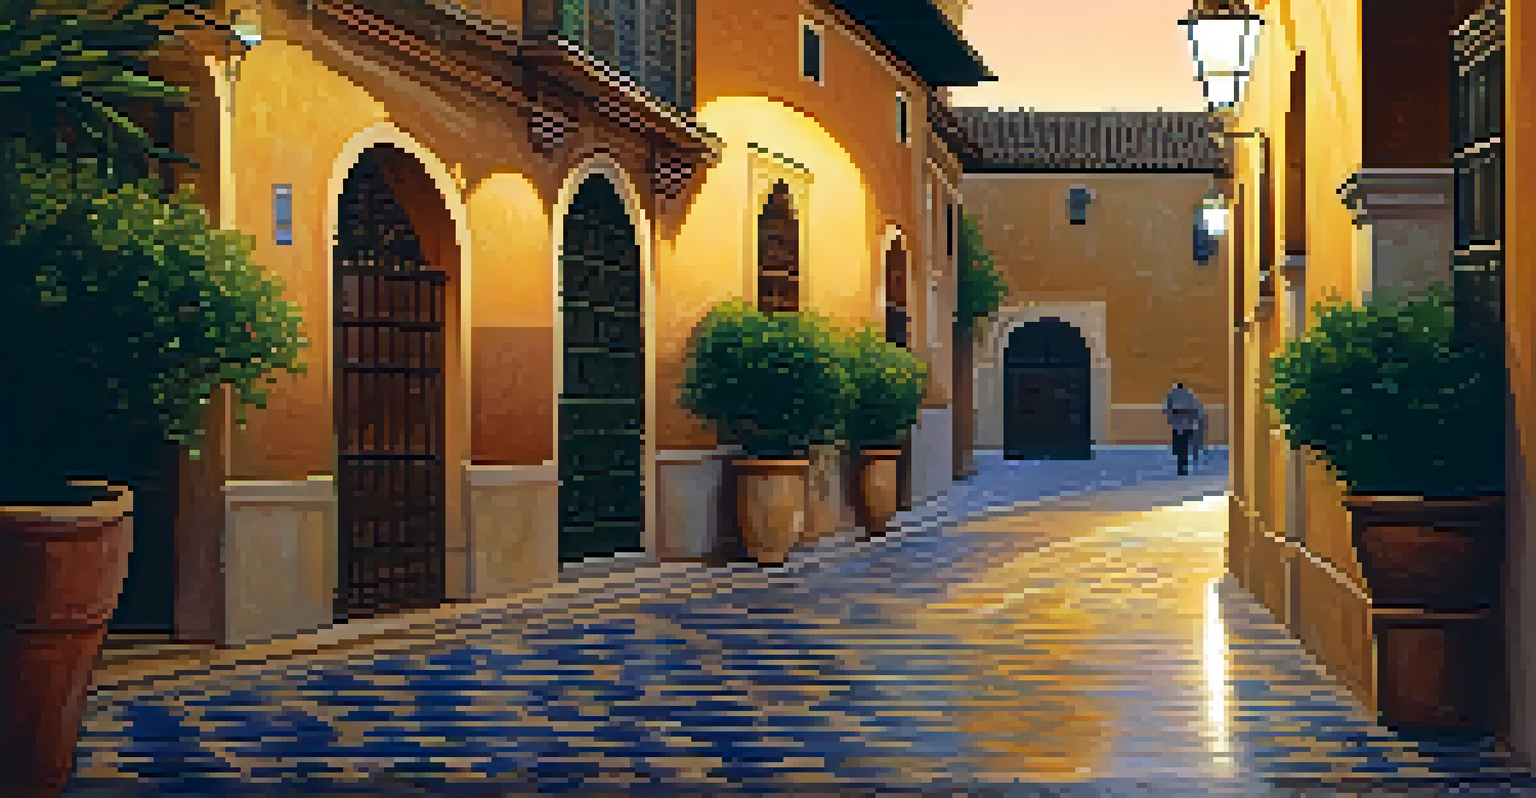
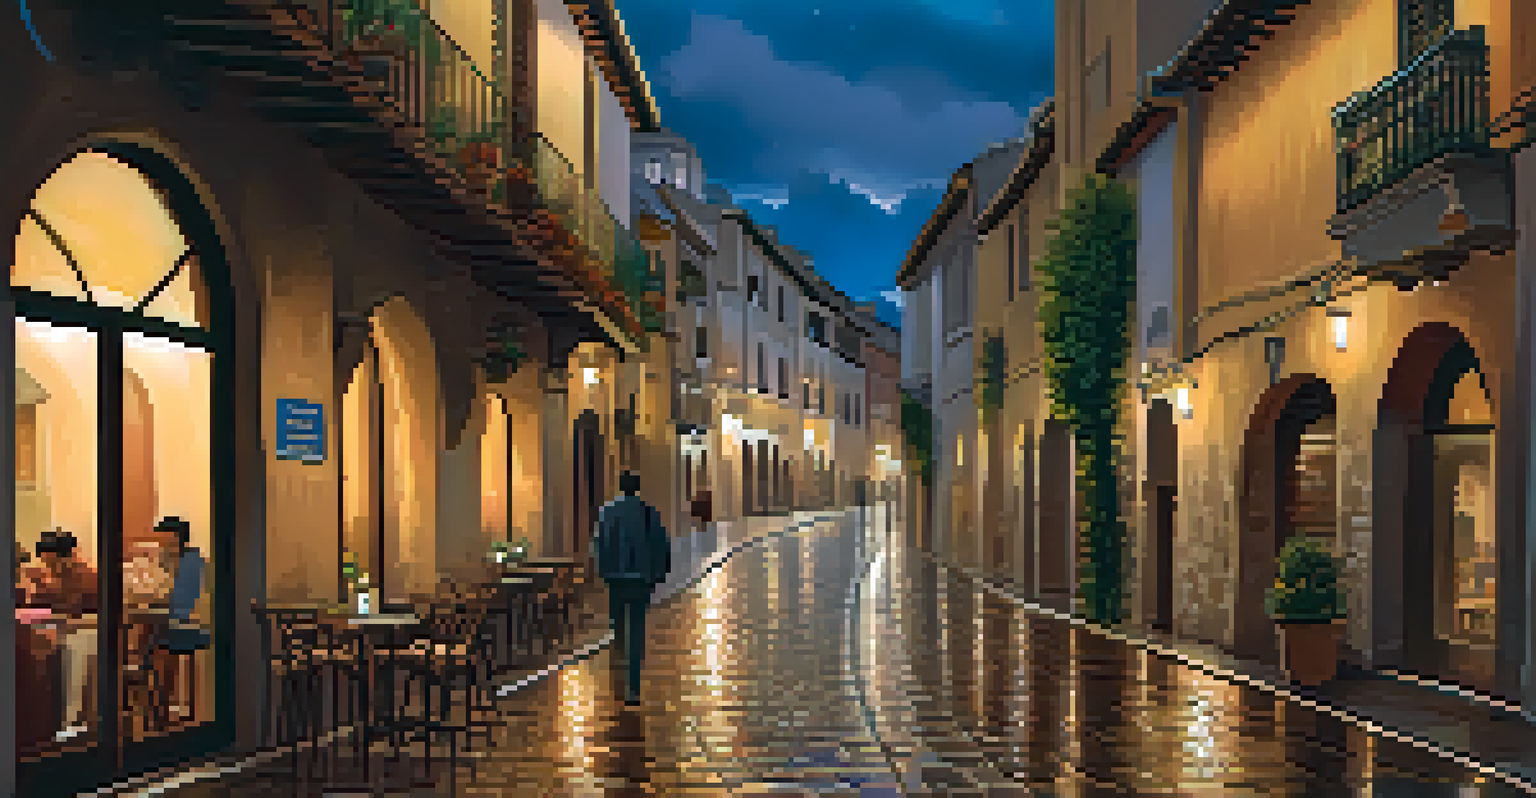
Spain is brimming with stunning locations perfect for night photography. Cities like Barcelona, with its illuminated Gaudí architecture, and Seville, showcasing the majestic Alcázar, provide endless opportunities for breathtaking shots. Each city has its own unique charm that comes alive after dark, so take the time to explore and find the best vantage points.
Photography is the story I fail to put into words.
Don't overlook the beauty of quieter streets or lesser-known neighborhoods. Sometimes, the most captivating photos can be taken in unexpected places, where the ambiance is intimate and the light is soft. For example, wandering through the alleys of Granada can reveal hidden gems that capture the essence of Andalusian culture.
Lastly, consider timing your visits to coincide with local festivals or events. The vibrant lights and decorations during these occasions can add an extra layer of magic to your photographs, making them truly memorable. Keep your camera ready, as you never know when the perfect scene might present itself.
Mastering Camera Settings for Night Shots
Getting the right camera settings is crucial when capturing night scenes. Start by setting your camera to manual mode, allowing you complete control over exposure, aperture, and ISO. A good starting point is to set your aperture wide open to let in as much light as possible, while keeping your ISO low to minimize noise.
Next, adjust your shutter speed based on the available light and desired effect. For instance, a slower shutter speed can create beautiful light trails from moving vehicles, while a faster speed is better for freezing action. Don't hesitate to take test shots and adjust your settings as needed; this is all part of the creative process.
Essential Gear for Night Shoots
A sturdy tripod and a fast lens are crucial tools that significantly enhance the quality of night photographs.
Lastly, consider using a camera's histogram feature to check if you're overexposing or underexposing your shots. This tool provides a visual representation of the exposure, helping you make adjustments for optimal results. Remember, practice makes perfect, so keep experimenting with your settings until you feel comfortable.
Utilizing Light Sources for Creative Effects
One of the most exciting aspects of night photography is playing with light sources. Street lamps, neon signs, and even moonlight can add unique elements to your photos. By positioning your subject in relation to these light sources, you can create stunning contrasts and dramatic shadows that enhance the visual storytelling in your images.
Consider incorporating leading lines, such as roads or pathways, that guide the viewer's eye towards the light. This technique can create a sense of depth and intrigue, drawing attention to your subject while providing context about the environment. Experimenting with angles and perspectives can also yield surprising results.
Moreover, don't shy away from using artificial lighting, such as flashlights or portable LED lights, to illuminate your subject. This can help separate them from the background and add a creative flair to your shots. Just remember to balance the ambient light with your added light source for a cohesive look.
Post-Processing Tips for Night Photography
Editing your night photographs can elevate them from good to spectacular. Start by adjusting the exposure and contrast to bring out details lost in shadows. Software like Adobe Lightroom or Photoshop offers powerful tools for fine-tuning your images, allowing you to enhance colors and correct any issues that may have arisen during shooting.
Don't overlook noise reduction, especially if you used a higher ISO setting. Many editing programs have built-in features to help minimize graininess while preserving image quality. Remember, however, to apply these adjustments subtly; too much noise reduction can result in a loss of detail.
Perfect Locations in Spain
Exploring iconic cities and hidden gems in Spain can lead to breathtaking night photography opportunities.
Lastly, consider applying creative filters or effects to add your personal touch. Whether it’s a vignette to draw focus to your subject or a bit of sharpening to enhance edges, post-processing can truly bring your vision to life. Just be mindful to keep the final image authentic and true to the scene you captured.
Sharing Your Night Photography Online
Once you've perfected your night photography, it's time to share your creations with the world. Social media platforms like Instagram and photography-specific sites like Flickr are excellent avenues for showcasing your work and connecting with fellow enthusiasts. Engaging with online communities can provide valuable feedback and inspiration for future projects.
When sharing, be sure to use relevant hashtags to increase your visibility. Tags like #NightPhotography, #SpainAfterDark, or specific city names can help your photos reach a broader audience. Additionally, consider writing captions that tell the story behind each shot, giving viewers a glimpse into your experience while capturing the image.
Finally, don't hesitate to create a personal blog or website to showcase your portfolio. This can serve as a central hub for your photography journey, allowing interested parties to learn more about you and your work. Plus, it’s a great way to keep track of your growth and evolution as a photographer over time.